Act I: Walkthrough
Upon beginning Act I, you’ll find yourself in the Rogue Encampment. Several NPCs in this camp will guide you through your journeys with a series of 6 quests. Rewards you get in Act 1 as you complete quests:
- Q1: Den of Evil – one skill point as a reward and option to reset skill points
- Q2: Sisters’ Burial Ground – mercenary reward and can hire mercenaries
- Q3: The Search for Cain – by freeing Deckard Cain, he will identify items in your inventory free of charge
- Q5: Tools of the Trade – Charsi will imbue an item with magical property (can be saved for later)
Q1: Den of Evil
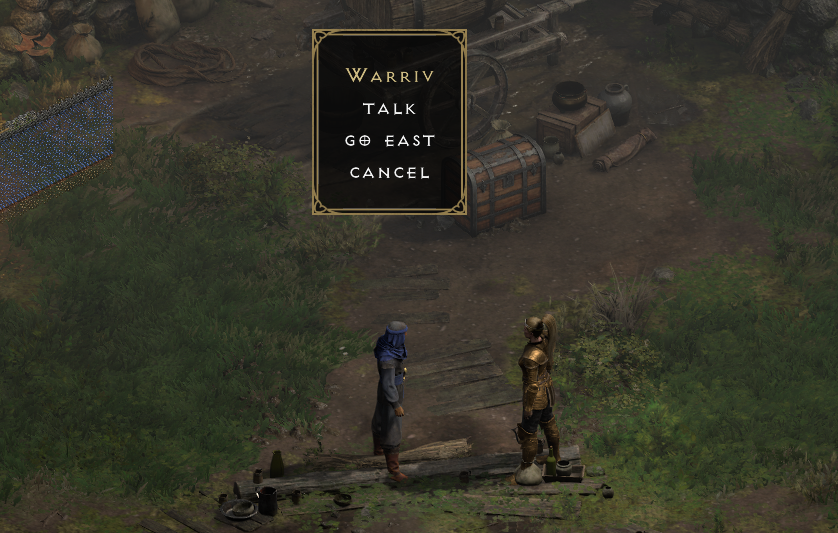
After loading into the starting game, you’ll find yourself next to Warriv in the Rogue Encampment. He is the first person to speak with.
- Quest Giver: Speak to Warriv then speak to Akara in the Rogue Encampment
- Travel: Blood Moor > Den of Evil
- Objective: Kill all mobs throughout the 2 level of the Den of Evil
- Rewards: 1 skill point and Akara will also reset your skills
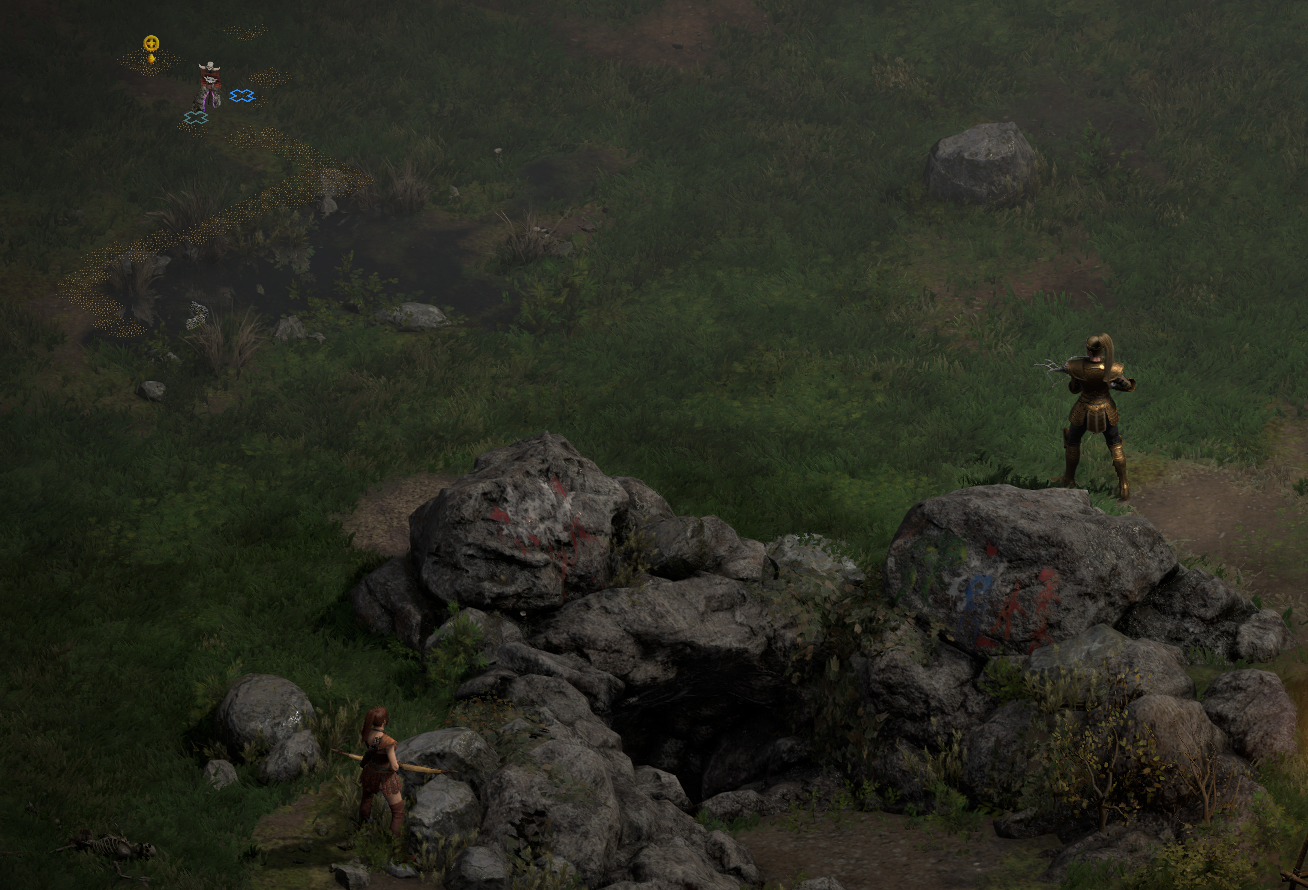
The Den of Evil is the only dungeon in the Blood Moor area and will prominently be marked on your map as you get closer to it.
Walkthrough
Venture outside of the Rogue Encampment into the Blood Moor area. Explore the area until you find the Den of Evil. There are 2 levels to this dungeon, and you will need to kill all mobs on both levels. The quest log will alert you once you are down to 5 or less mobs left to kill.
Q2: Sisters’ Burial Ground
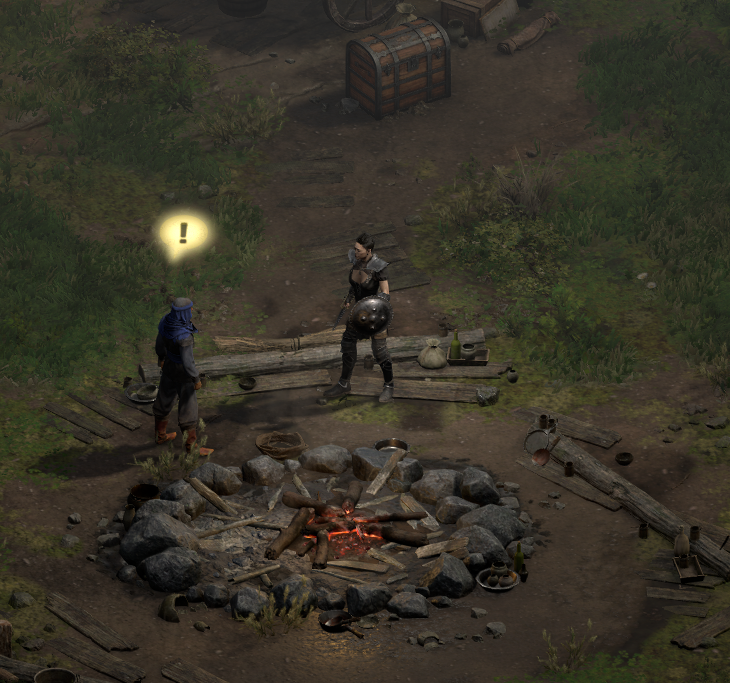
Kashya is the next NPC within the Rogue Encampment to seek out.
- Quest Giver: Speak to Kashya in the Rogue Encampment
- Travel: Blood Moor > Cold Plains > The Burial Grounds
- Waypoint to Acquire: Cold Plains
- Objective: Seek out and kill Blood Raven in The Burial Grounds
- Rewards: Free mercenary and available mercenaries to hire
Walkthrough
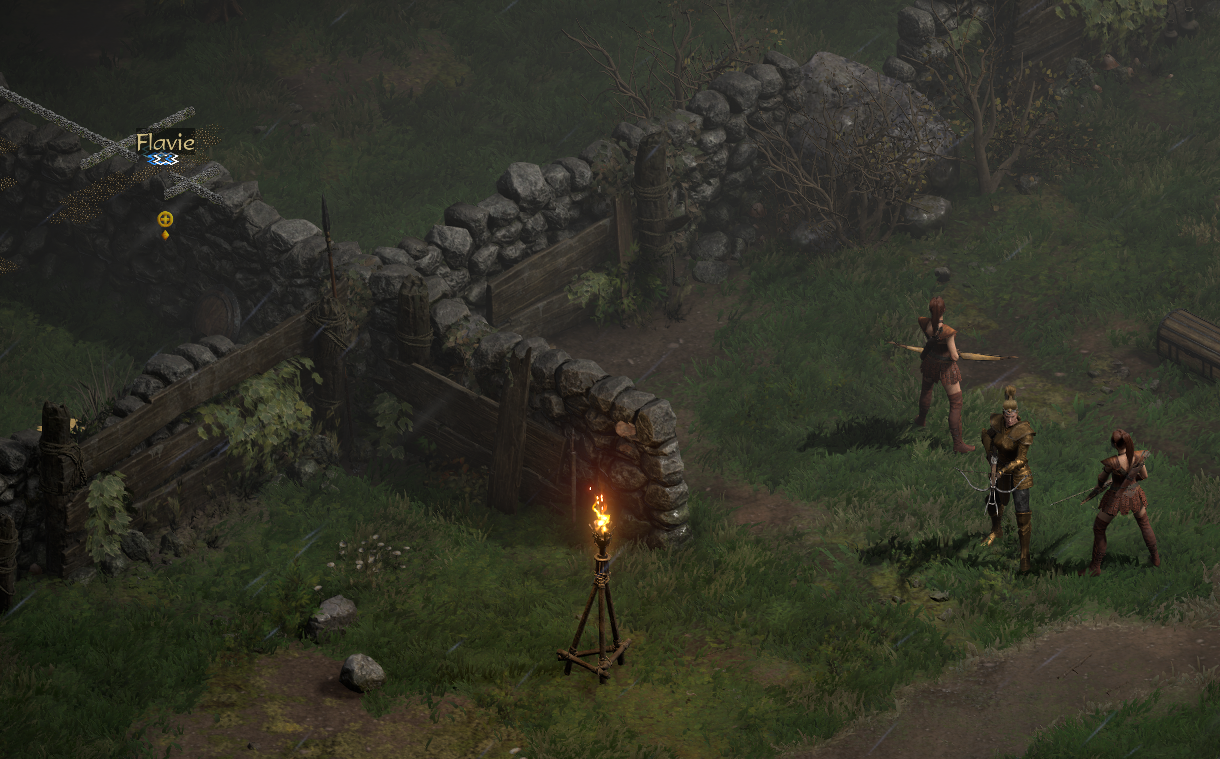
Flavie is located right before entering Cold Plains. You’ll also see her marked on your map. Make sure to speak to her before continuing into the Cold Plains
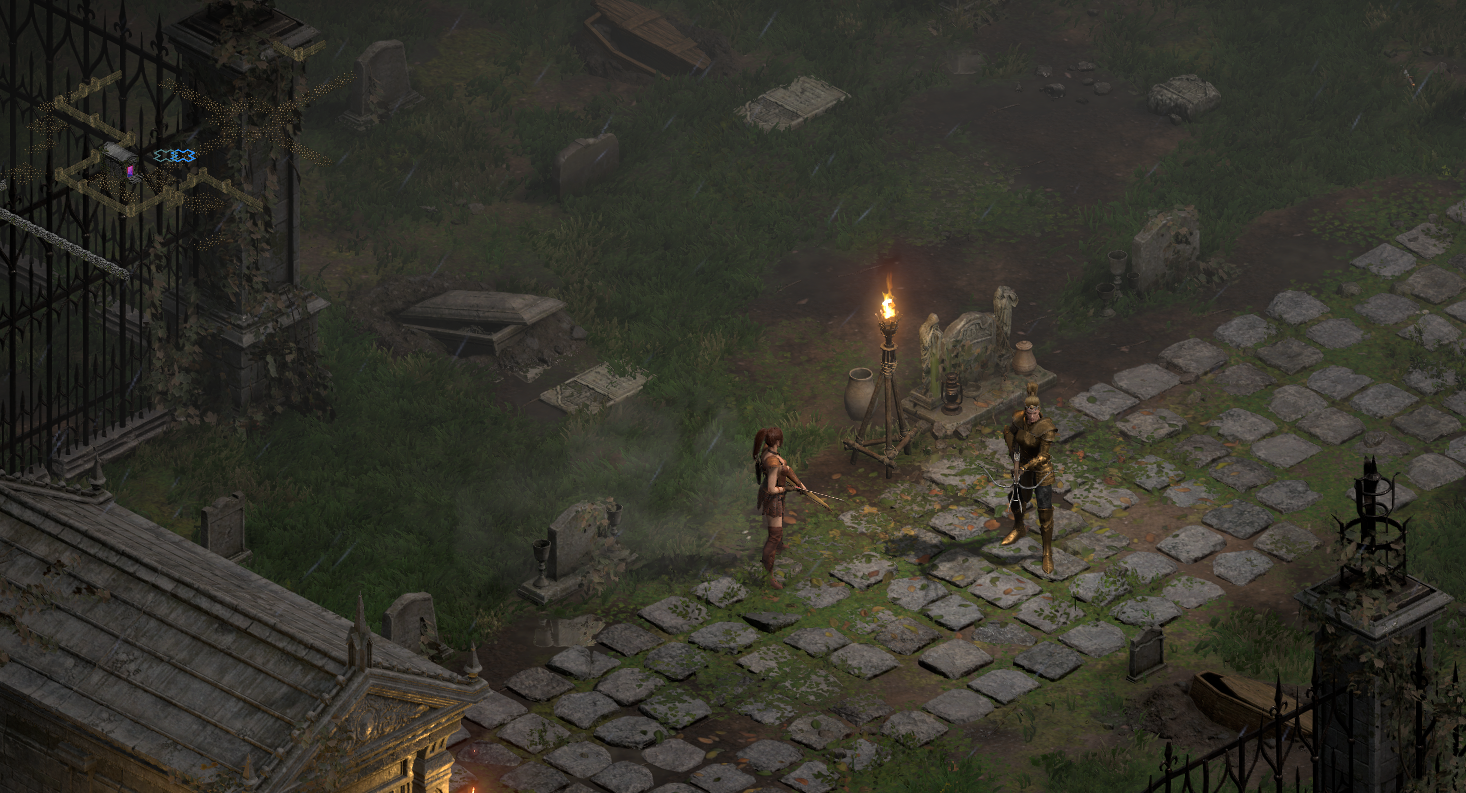
Once you enter The Burial Grounds, search for a cemetary in the middle of zone. Blood Raven will be found past the cemetary gates.
Q3: The Search for Cain
This quest will only be available once you complete the previous Q2 quest.
- Quest Giver: Speak to Akara in the Rogue Encampment
- Travel: Cold Plains (WP) > Stony Field > Underground Passage > Dark Wood
- Waypoints to Acquire: Stony Field, Dark Wood
- Objective: Open the portal to Tristram using the Cairn Stones and rescue Cain
- Rewards: Cain will identify all items in your inventory at no cost.
Walkthrough
You need to get the secret code, or order, to activate the Cairn Stones in Stony Field. Once the stones are activated in a special order, a portal will appear that can take you to Tristam where you will travel to rescue Deckard Cain.
A special scroll with the secret code is needed to obtain the Cairn Stone order. This scroll is found in Darkwood. You’ll have to traverse multiple zones to reach Darkwood. Once there, look for the Tree of Inifuss. It’s a large tree, also marked on your map as you approach it, that will be guarded by a unique mob called Treehead Woodfist.
Kill Treehead Woodist and click the tree. The scroll will drop which you must then back to Akara at the Rogue Encampment. Akara will then “translate” the scroll in your inventory, giving you the secret order to activate the Cairn Stones.
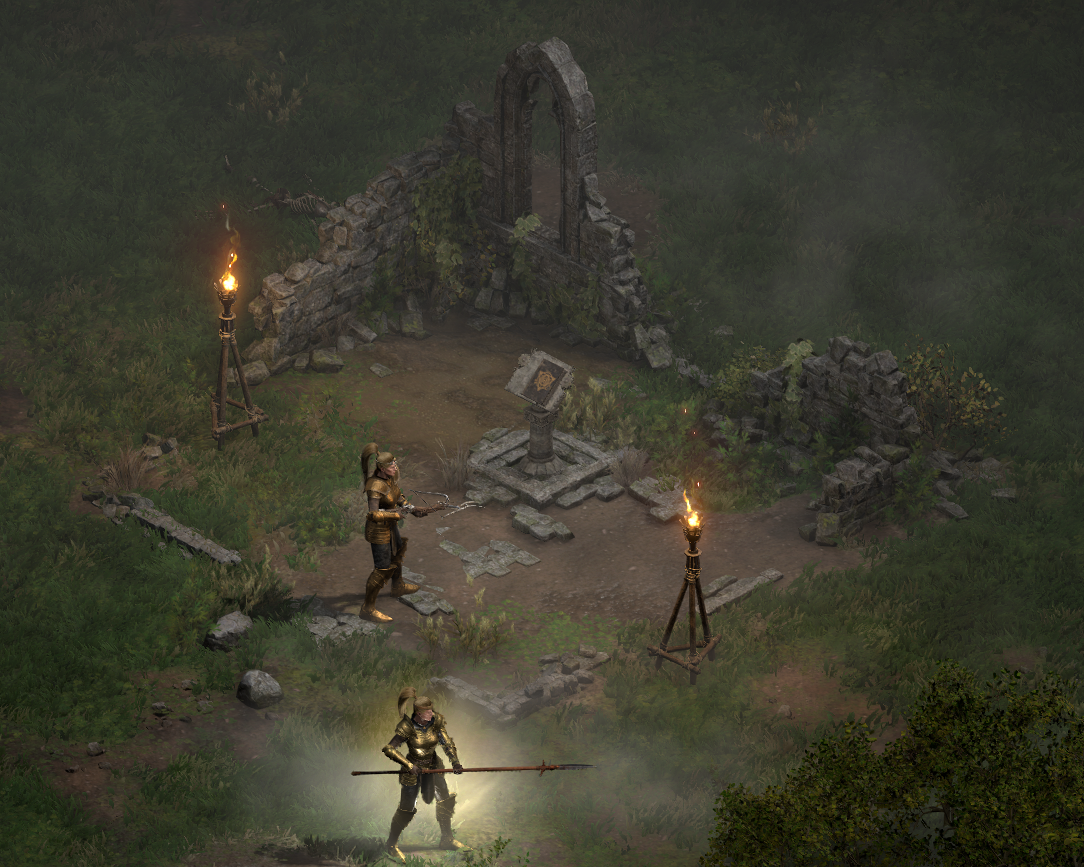
Head back to Stony Field via the WP you recently acquired and search for the Cairn Stones. These will appear as 5 stones arranged in a circular manner. The scroll in your inventory, which Akara translated for you, will give you the correct order to click on the Cairn Stones. Click on the scroll to reveal the order. Each stone has a marking on it which corresponds to the information in the scroll.
After you click each stone in the correct order, a portal to Tristam will appear in the center. Take the portal to enter Tristam and rescue Deckard Cain.

Once inside Tristam, Deckard Cain will be located in a cage near the center of the zone. He’ll be guarded by champion-type mobs as well as a unique named Griswold. Once you clear the area, you can release Cain. He will open a portal to travel back to the Rogue Encampment.
Optional: Wirt’s Leg
Before heading back to the Rogue Encampment, you can explore Tristam further and search for Wirt’s body. Once you find the body, you can click on it and Wirt’s Leg will drop. This item is used for the Secret Cow Level – discussed in a later guide.
Q4: The Forgotten Tower
This quest is granted by clicking on the Moldy Tome found within Stony Field. If you did not encounter the tome, while searching the Stony Field previously for the Cairn Stones, then go back there and look for it.
- Quest Giver: Triggered by clicking the Moldy Tome in Stony Field
- Travel: Stony Field (WP) > Dark Wood (WP) > The Black Marsh > The Forgotten Tower > Tower Cellar (4 Levels)
- Waypoints to Acquire: The Black Marsh
- Objective: Kill the Countess found in Tower Cellar 4
- Rewards: Just monetary rewards from chest and gold found nearby the Countess
Walkthrough
The Moldy Tome is found in Stony Field. It’s basically a pedestal you click on to trigger the quest. Oftentimes, it is encounter while doing Q3.
If you obtained the previous two WPs while doing the Search for Cain quest, you should be able to use the Stony Field WP and travel back to the Dark Wood WP. From there, you can head to the Black Marsh and search for the entrance to the Forgotten Tower.
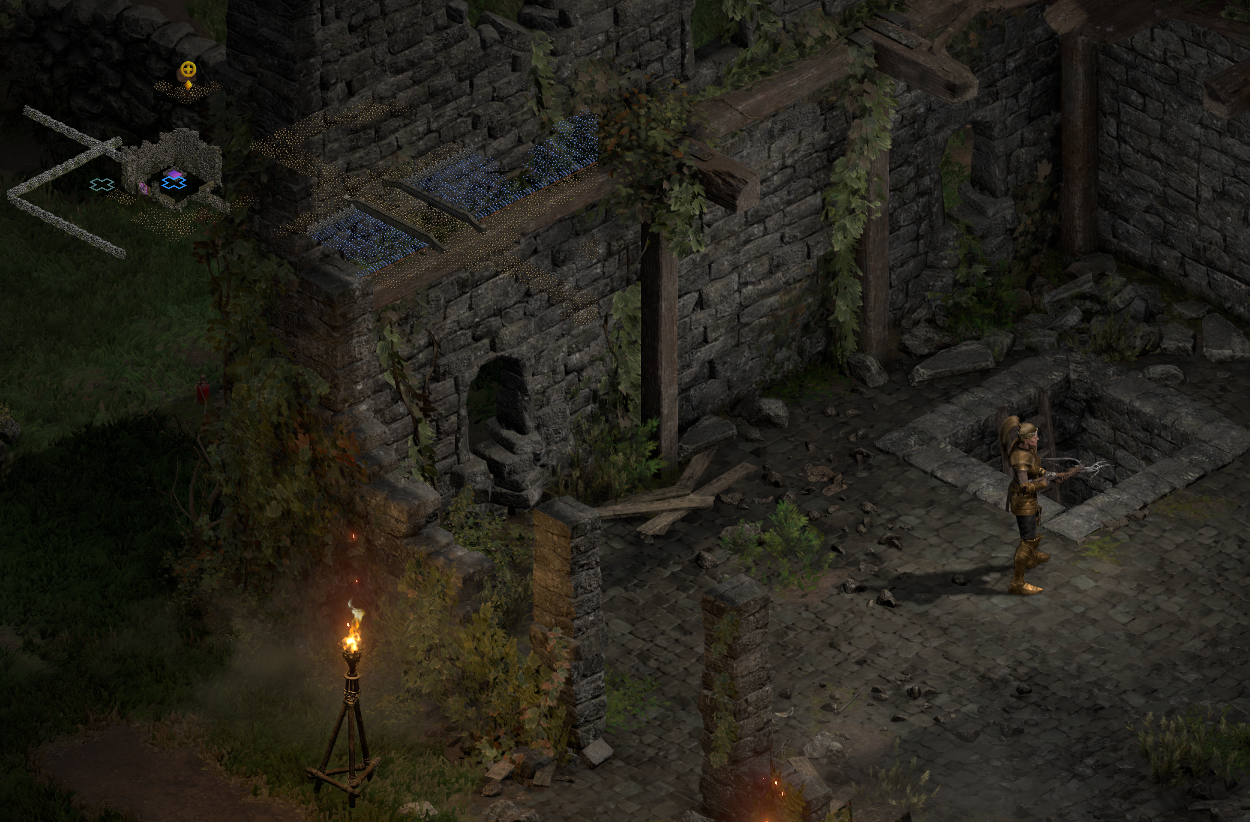
Note: that the Forgotten Tower entrance resides in a broken, tower-like structure. However, it’s really an underground entrance as depicted in the picture below (and marked on the map).
There are 4 levels within the Forgotten Tower called “Tower Cellars.” Technically, there are 5 floors. However, once you enter the Forgotten Tower, you’ll immediately see Tower Cellar 1. These are all relatively small levels. The Countess will be located in Tower Cellar 4. Find her and kill her. Return back to the Rogue Encampment once done.
Q5: Tools of the Trade
You cannot complete this quest until you are at least level 8 and done with the Deckard Cain rescue quest.
- Quest Giver: Charsi in the Rogue Encampment
- Travel: Black Marsh (WP) > Tamoe Highland > Monastery Gate > Outer Cloister > Barracks
- Waypoints to Acquire: Outer Cloister
- Objective: Get the Horadric Malus and return to Charsi
- Rewards: Socket imbue – which can be saved for later use
Walkthrough
This will be the first quest where you really need to trek far out. Once past the Monastery Gate, the area breaks down into a couple of zones. You need to make it to the Barracks. Since you will need to return back to this area, make sure you pick up the Outer Cloister WP.
A unique mob called The Smith will be guarding the Horadric Malus within the Barracks. You will also see a hammer icon on your map indicating you are near. Kill the Smith and then click the rack that holds the Horadric Malus. The malus will drop to the floor, and you can loot it. Once the malus is in your inventory, you can head back to Charsi at the Rogue Encampment.

Q6: Sisters to the Slaughter
This is the final quest to complete Act I. Deckard Cain will give you the quest. Your objective is to seek out and kill Andariel, the final boss.
- Quest Giver: Deckard Cain in the Rogue Encampment
- Travel: Outer Cloister (WP) > Jail (3 Levels) > Inner Cloister > Catacombs (4 Levels)
- Waypoints to Acquire: Jail Level 1, Inner Cloister, Catacombs Level 2
- Objective: Defeat Andariel, the final act boss
Walkthrough
Return back to the Outer Cloister by taking the WP from town. You’ll embark on another large trek to get to Andariel. She is found on the 4th level of the Catacombs.
A lot of people tend to miss the WP for Jail Level 1. It’s wise to at least get the other two WPs, especially Catacombs Level 2. This will be the last WP you can get before fighting Andariel. If you die on the fight with no town portal open, you’ll have to run all the way back.
Andariel can be found in a large room with a pool of blood. Upon defeating her, a town portal will open to take your back to the Rogue Encampment. Speak to the town’s and Warriv will allow you to travel to Act II.
Warriv Allows Travel to Act II
With Act I now complete, thanks to Andariel’s defeat, Warriv will allow you travel to Act II.
- Speak to Warriv and select “Go East” when you are ready to travel to Act II