Act III: Walkthrough
After speaking to Meshif to “Sail East”, you’ll arrive at the Kurast Docks. Notable rewards in Act 3 as you complete quests:
- Q1: The Golden Bird – grants you a potion of life, adding 20 points permanently to your life
- Q2: Blade of the Old Religion – grants you a rare ring and a free mercenary
- Q4: Lam Esen’s Tome – grants you 5 stat points and shopping discounts
Q1: The Golden Bird
The first quest of Act 3 is a triggered quest which you encounter at some point outside of town in the Spider Forest.
- Quest Giver: Triggered after looting a Jade Figurine from a Unique or Champion mob
- Travel: The Spider Forest
- Waypoint to Acquire: The Spider Forest
- Objective: Speak to the town NPCs upon looting the Jade Figurine
- Reward: Potion of life from Alkor – click it to permanently add 20 points to your Life
Walkthrough
Venture outside of Kurast Docks into the Spider Forest. Keep roaming around until you’ll eventually come across either a unique monster or a group of champion mobs. As soon as you kill one of them, a Jade Figurine will drop to loot. This will trigger the Golden Bird quest. After you get the Jade Figurine from the Spider Forrest, head back to Kurast Docks. You’ll be running around town talking to various NPCs in the following order:
- Speak to Deckard Cain
- Speak to Meshif (he’ll give you a golden bird in exchange for the figurine)
- Speak to Deckard Cain
- Speak to Alkor – completes quest and you get a reward
Q2: Blade of the Old Religion
Hratli in Kurast Docks will give you the Blade of the Old Religion quest. This quest can be worked on concurrently with Q3 – Khalim’s Will. The objective is to find the Gidbin Blade within the Flayer Jungle.
- Quest Giver: Hratki in Kurast Docks
- Travel: The Spider Forest (WP) > Great Marsh > Flayer Jungle
- Waypoints to Acquire: Great Marsh, Flayer Jungle
- Objective: Find the Gidbin Blade within the Flayer Jungle
- Reward: Rare ring (from Ormus) and a free mercenary and other mercs to hire (Asheara)
Walkthrough
This Act can be a giant, frustrating maze. Try to stick to the area walls of the map to uncover the paths, and acquire all waypoints accordingly.
Due to the maze-like pathing of the Flayer Jungle area, try to use the map to your advantage. When you get close, you’ll see an icon for the Gidbin Blade on your map. It looks like a shrine holding a dagger. Click on the shrine, and it will drop the blade for you to loot.
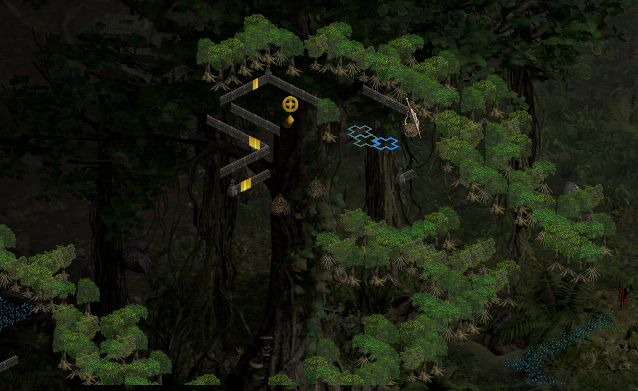
Return the blade to Ormus at the Kurast Docks. He’ll reward you with a rare ring. Next, speak to Asheara, and she’ll reward you with a free mercenary (as well as making other mercenaries available for hire).
Q3: Khalim’s Will
This is another annoying multi-component quest – similar to the Horadric Staff Q2 from Act II. It is available only after completing Q1.
Quest Giver: Deckard Cain in Kurast Docks
- Part 1: Khalim’s Eye (from Spider Cavern Level 3)
- Part 2: Khalim’s Brain (from Flayer Dungeon Level 3)
- Part 3: Khalim’s Heart (from Sewers Level 3)
- Part 4: Khalim’s Flail (from Travincal Level 2)
- Transmute all 4 items inside the Horadric Cube to form Khalim’s Will
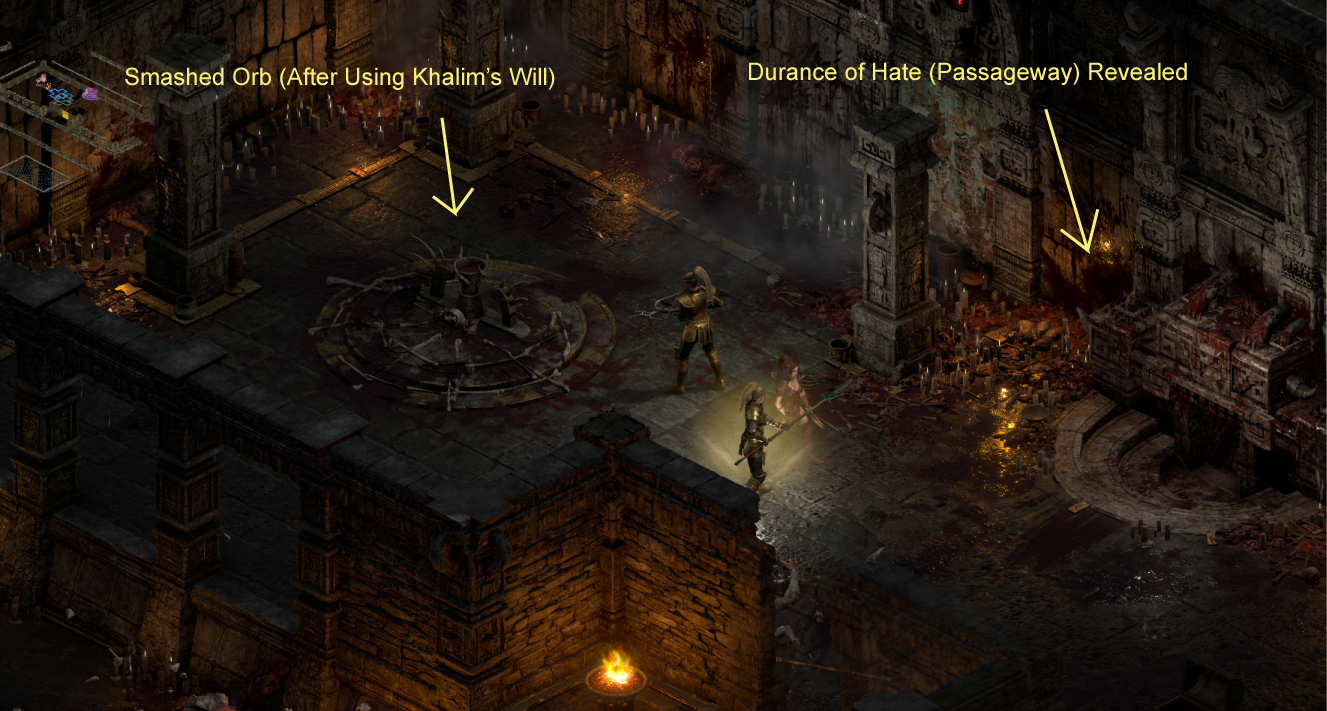
Main Objective: Cain instructs you to find the 4 relics needed to create Khalim’s Will. After you retrieve all 4 of these relics, Cain will tell you to place them inside the Horadric Cube and Transmute them to form Khalim’s Will. This item is used to smash the Compelling Orb which opens the passageway, Durance of Hate, for Q6 to gain access to the final boss, Mephisto.
Part 1: Khalim’s Eye
- Travel: The Spider Forest (WP) > Spider Cavern
- Objective: Loot Khalim’s Eye from the chest
Walkthrough
Search the Spider forest for the Spider Cavern. Please note this is NOT the same dungeon as the Arachnid Lair. That one is an entirely optional dungeon.
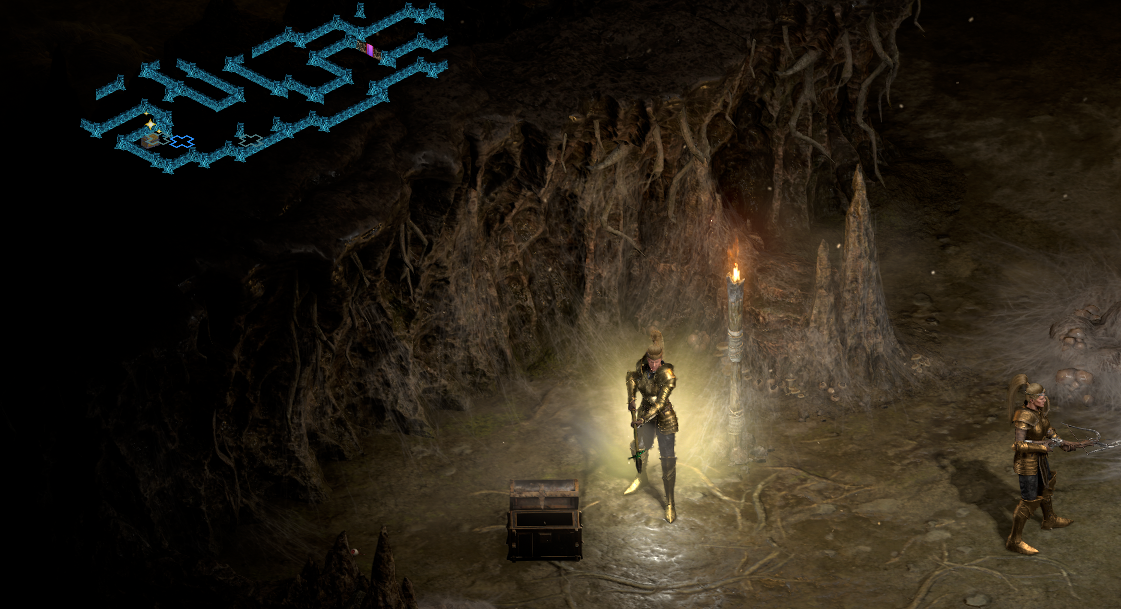
You’ll see a golden chest appear on your map as you get closer to it. A unique mob called Sszark the Burning will be guarding the chest. Kill him, open the chest and loot Khalim’s Eye.
Part 2: Khalim’s Brain
- Travel: Flayer Jungle (WP) > Flayer Dungeon (3 Levels)
- Objective: Loot Khalim’s Brain from the chest
Walkthrough
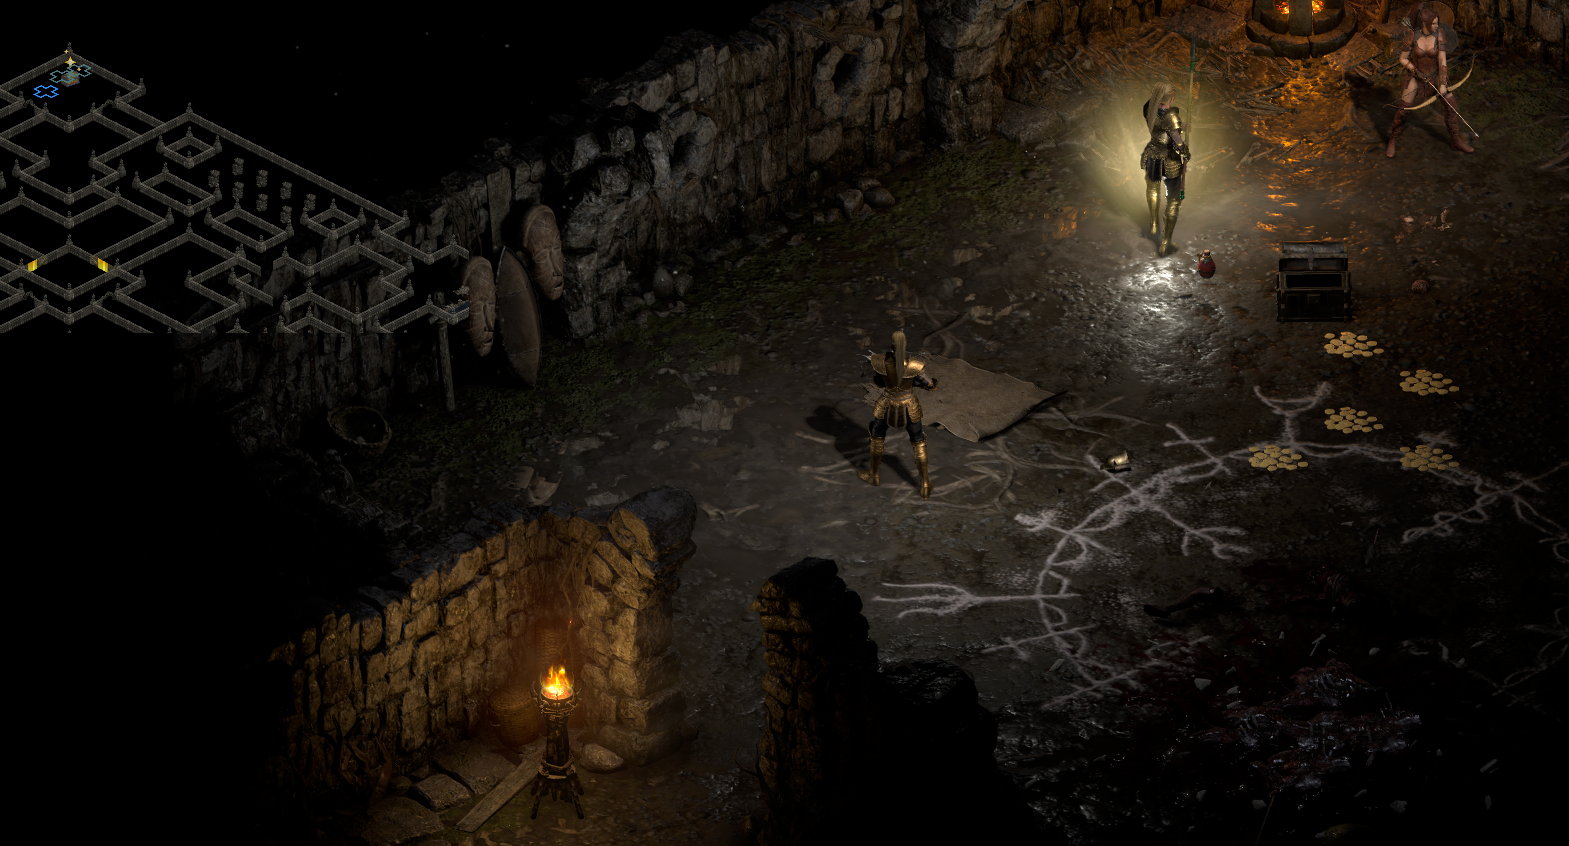
You’ll see the golden chest appear on your map as you get closer to it. A unique mob called Witch Doctor Endugu will be guarding the chest. Kill him, open the chest and loot Khalim’s Eye. At this point, it will probably be a good idea to portal back to town.
Part 3: Khalim’s Heart
- Travel: Flayer Jungle (WP) > Lower Kurast > Kurast Bazaar > Sewers (2 Levels)
- Waypoints to Acquire: Lower Kurast, Kurast Bazaar
- Objective: Loot Khalim’s Heart from the chest
Walkthrough
A lot more traveling is involved here as you pass through several areas, include two levels of Sewers. You’ll see the golden chest appear on your map as you get closer to it. Open the chest and loot Khalim’s Heart.
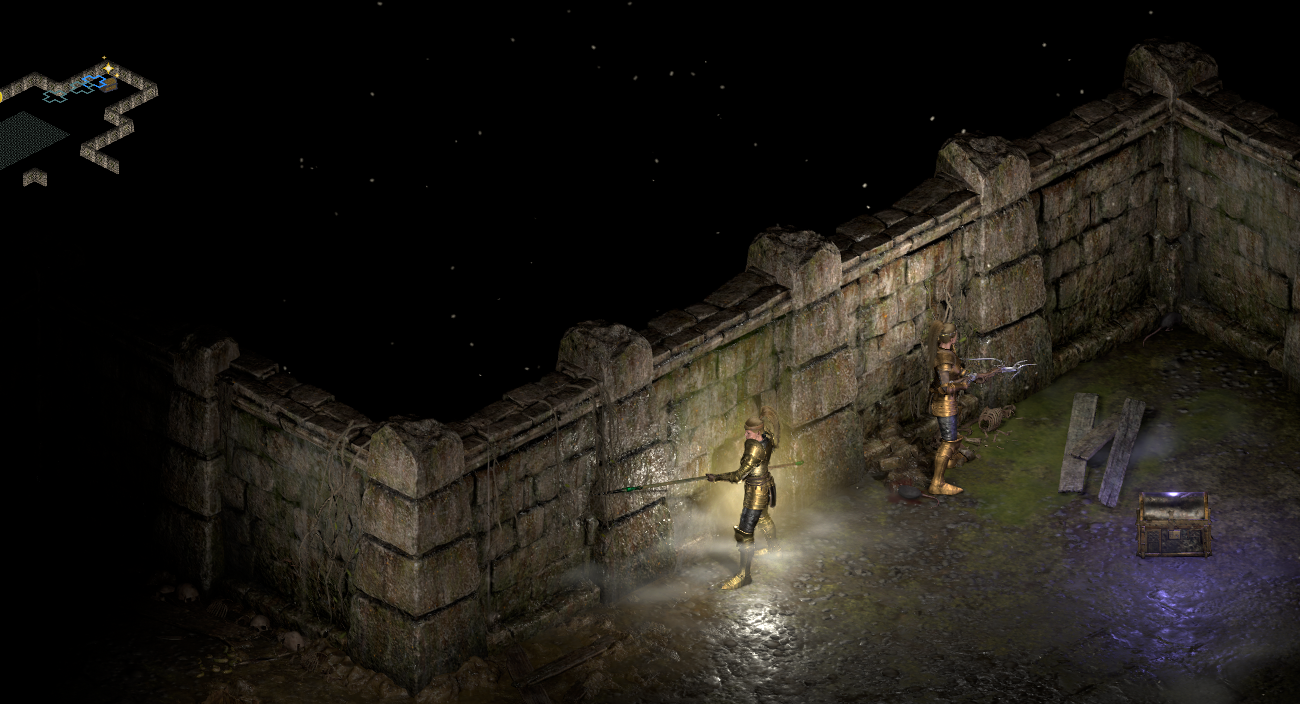
Part 4: Khalim’s Flail
- Travel: Kurast Bazaar (WP) > Upper Kurast > Kurast Causeway > Travincal
- Waypoints to Acquire: Upper Kurast, Travincal
- Objective: Kill the High Council Members in the Blacked Temple and loot the flail
Walkthrough
The council members are found inside the Blackened Temple with the Compelling Orb. The extra fun part here is that as you approach the temple, Q5 – The Blackened Temple is automatically triggered (assuming you have not spoken to Ormus already).
There are three unique High Council members that will need to be fought together:
- Toorc Icefist
- Geleb Flamefinger
- Ismail Vilehand
After you kill them, you will see Khalim’s Flail on the floor to loot, while also completing Q5. Loot the flail off the floor.
Transmute the 4 Relics Inside the Horadric Cube
Depending on what you wish to do, if you happen to have the Horadric Cube on you, you can place all the relics of Khalim in it, and press the Transmute button to create Khalim’s Will. Use Khalim’s Will to smash the Compelling Orb and reveal the passageway to Durance of Hate. This will complete Q3.
Q4: Lam Esen’s Tome
Speak to Alkor in Kurast Docks to trigger Q4. The prerequisite is to have entered one of the “Kurast” areas before (ie: Upper Kurast, Kurast Bazaar, etc). He will ask you to search the tombs in a couple of areas to retrieve Lam Esen’s Tome.
- Quest Giver: Alkor in Kurast Docks
- Travel: Kurast Bazaar (WP) > Ruined Temple
- Objective: Retrieve Lam Esen’s Tome from the Ruined Temple
- Reward: 5 stat points to spend and shopping discounts in town
As a spoiler (to save you time), the tome is guarded by a unique mob named Battlemaid Sarina within the Ruined Temple found in the Kurast Bazaar.
Walkthrough
When initially receiving this quest, the description can be a bit confusing. Alkor tells you to search for several places to locate the Ruined Temple. However, it’s only located in Kurast Bazaar. Take the WP to Kurast Bazaar and search around for a large temple. Once you go up the temple steps, you’ll see “trap stairs” to click on which will reveal the entrance to the Ruined Temple.
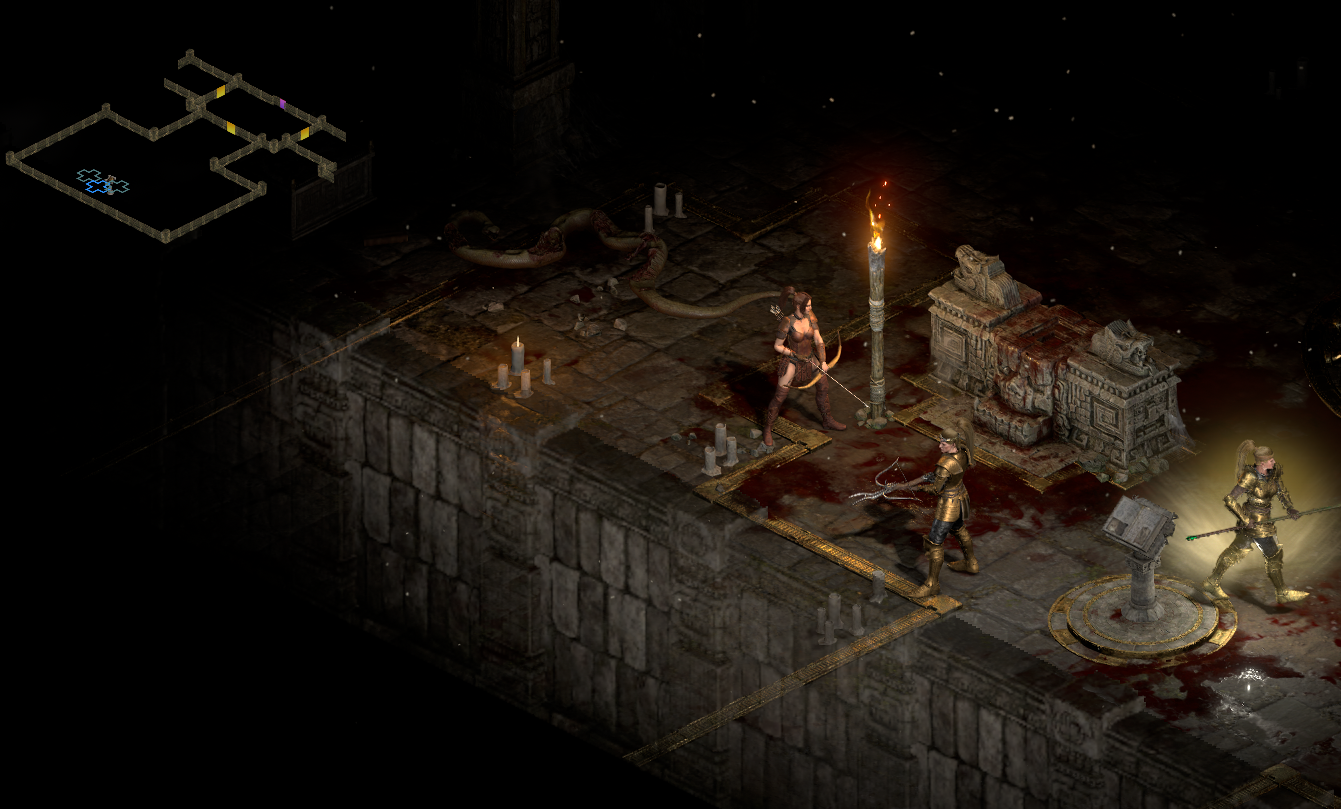
The Ruined Temple is a rather small area, as you can see below. It contains a large room with a unique mob, Battlemaid Sarina – as well as her minions which guard the pedestal holding Lam Esen’s Tome. Kill her and her friends, and then get the tome. Return to Alkor in Kurast Docks.
Q5: The Blackened Temple
This quest is a bit strange. There are a couple of ways to trigger it. Regardless, it will get triggered and completed while you are getting “Khalim’s Flail” piece for Q3. For sake of posterity, it will be explained again below.
- Quest Giver: Ormus in Kurast Docks (alternate way to trigger)
- Travel: Travincal (WP)
- Objective: Kill the High Council Members at the Blackened Temple
You can trigger the quest by speaking with Ormus in Kurast Docks after you entered Travincal for the first time. Or, as you approach the Blackened Temple within Travincal, the quest will trigger itselfs anyway.
The quest will update and complete once all the High Council members are killed.
Q6: The Guardian
Ormus will give you the last quest to defeat Mephisto, the final boss.
- Quest Giver: Ormus in Kurast Docks
- Travel: Travincal (WP) > Durance of Hate (3 Levels)
- Waypoint to Acquire: Durance of Hate Level 2
- Objective: Kill Mephisto and loot his Soulstone
Walkthrough
From the Blackened Temple (where you destroyed the Compelling Orb), the passageway to Durance of Hate Level 1 is open for you to access. You’ll have to go through three levels to get to Mephisto.
It is advisable to drop a town portal on Durance of Hate Level 2 before entering Level 3. Once on Level 3, you’ll be dealing with three unique minions as well as Mephisto himself.
- Wyand Voidfinger
- Bremm Sparkfirst
- Maffer Dragonhand
How you choose to deal with all the mobs is up to you. Some people kill the uniques first, some don’t care! Once Mephisto is killed, make sure to loot is Soulstone. It will be used in Act IV.
Take the Red Portal From Durance of Hate 3 to Travel to Act IV
Once Mephisto is dead, a red portal will appear (known as the Infernal Gate). After you finish looting, take the red portal to go straight to Act IV. It is advisable to do this rather than heading back to the Kurast Docks via town portal. You can simply go back to finish any business left in the Kurast Docks from Act IV’s Pandemonium Fortress WP instead.
