Act II: Walkthrough
After speaking to Warriv to “Go East”, you’ll arrive in Lut Gholein – a desert city. Notable rewards in Act 2 as you complete quests:
- Q1: Radament’s Lair – one skill point from Book of Skill drop and shopping discounts in town
- Q2: The Horadric Staff – you get to keep the Horadric Cube and make transmutations with it
Q1: Radament’s Lair
Seek out Atma in Lut Gholein to receive the first quest in Act 2 – Radament’s Lair. Atma sometimes wanders in and out of the northern building.
- Quest Giver: Atma in Lut Gholein
- Travel: Sewers (3 Levels)
- Waypoints to Acquire: Sewers Level 2
- Objective: Kill Radament and loot the Horadric Scroll from the chest he guards
- Rewards: Book of Skill drop from killing Radament and shipping discounts in town
Walkthrough
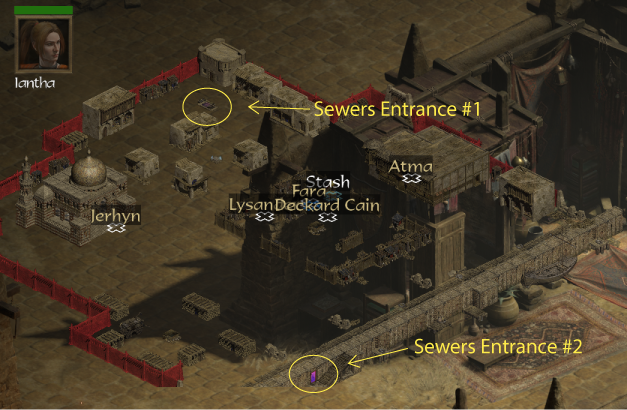
There are two entrances to the Sewers Level 1 found within Lut Gholein. You can use the trap door which opens up to the Sewers is in the northern part of the city, or use the entrance south at the docks. It doesn’t matter which route you take.
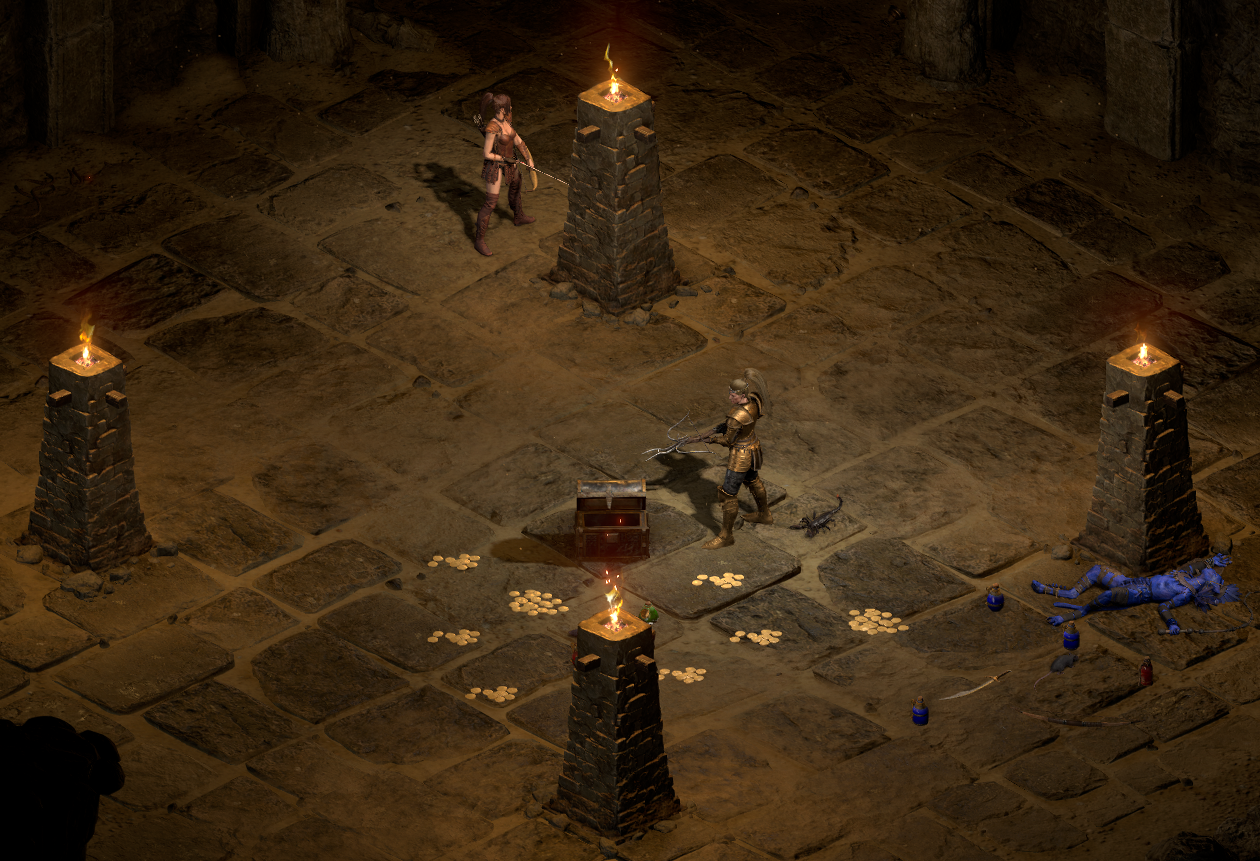
Seek out and kill Radament. After you kill him, he will drop a Book of Skill which grants you an extra skill point upon clicking. Don’t forget to also open up the chest in his room to get the Horadric Scroll. This is needed to get the second quest. Return back to Atma for your reward.
Q2: The Horadric Staff
Deckard Cain will give you the second quest for The Horadric Staff, if you have the Horadric Scroll in your inventory. This quest will involve three parts of obtaining items:
Quest Giver: Deckard Cain in Lut Gholein
- Part 1: Loot the Horadric Cube (from Halls of the Dead Level 3)
- Part 2: Loot the Staff of Kings (from the Maggot Lair Level 3)
- Part 3: Loot Amulet of the Viper (from the Claw Viper Temple Level 2)
Main Objective: Loot all 3 components. Place the Staff of the Kings and the Amulet of the Viber inside the Horadric Cube (container) and press the Transmute button to give you the Horadric Staff. Use the Horadric Staff on the Orifice inside Tal Rasha’s true tomb to reveal the passageway to Tal Rasha’s Burial Chamber.
This is going to be a lengthy quest that won’t fully “complete” until you’re on Q6. Other quests will be done in tandem with it.
Part 1: Horadric Cube
- Travel: Rocky Waste > Dry Hills > Halls of the Dead (3 Levels)
- Waypoints to Acquire: Dry Hills, Halls of the Dead Level 2
- Objective: Loot the cube from the chest
Walkthrough
Bloodwitch the Wild will be guarding the chest containing the Horadric Cube in one of the rooms within the Halls of the Dead Level 3. Kill her and then open the chest to loot the cube. After you loot the cube, you can head back to town.
Part 2: Staff of Kings
- Travel: Dry Hills (WP) > Far Oasis > Maggot Lair (3 Levels)
- Waypoints to Acquire: Far Oasis
- Objective: Loot the staff from the chest
Walkthrough
There are NO waypoints inside the Maggot Lair. Far Oasis will the closest WP to it. Make sure you grab the WP before heading to the dungeon as an extra precaution.
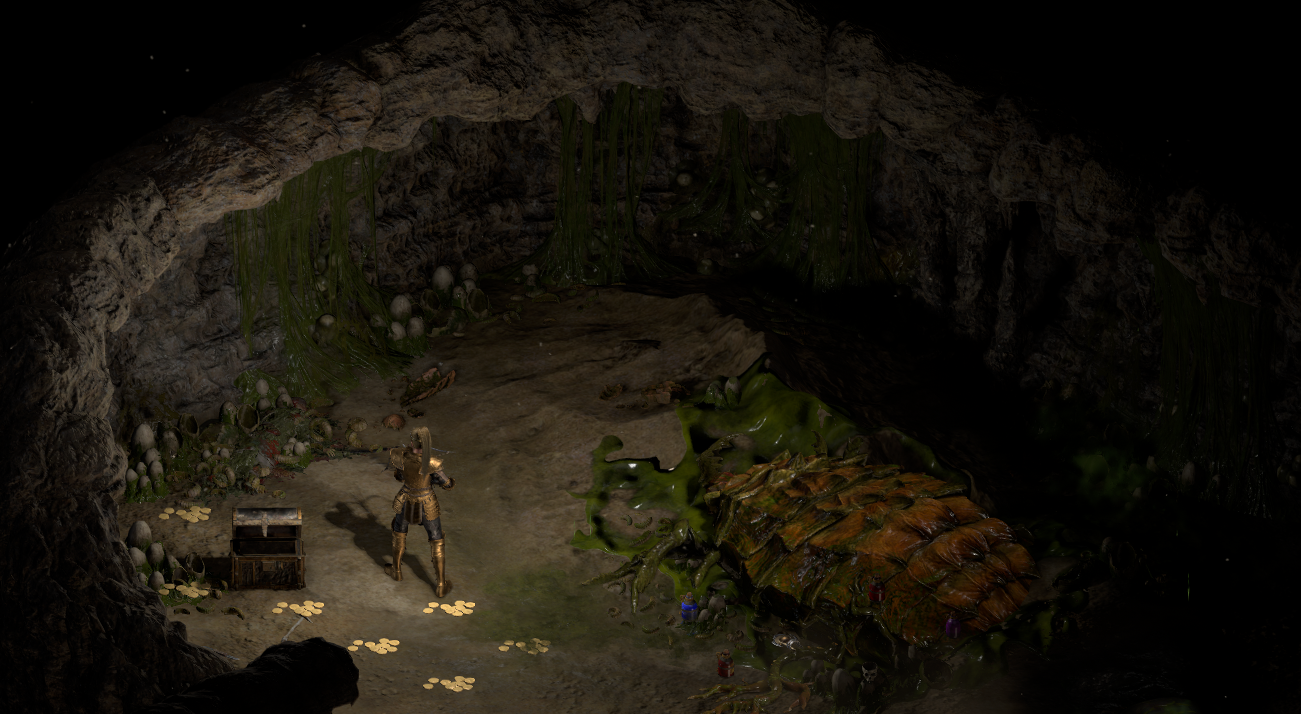
Coldworm the Burrower is found on the 3rd level of the Maggot Lair. He will be guarding the chest containing the staff. Kill him, open the chest, loot the staff, and head back to town.
Part 3: Amulet of the Viper
- Travel: Far Oasis (WP) > Lost City > Valley of the Snakes > Claw Viper Temple (3 Levels)
- Waypoints to Acquire: Lost City
- Objective: Destroy the Tainted Sun Altar and loot the amulet
Walkthrough
As soon as you enter the Lost City, the lights will go dim throughout all of Act II. You’ll automatically trigger Q4.
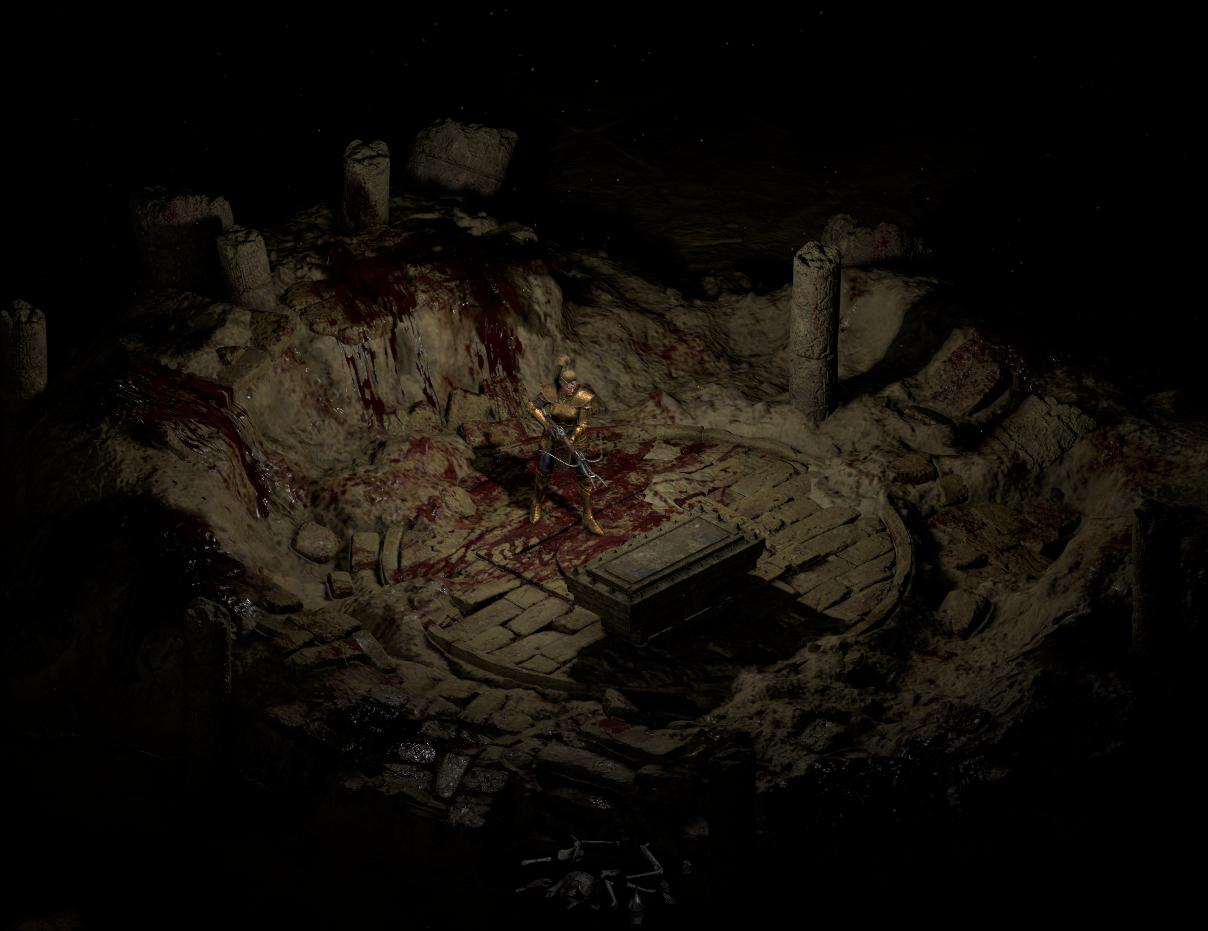
The 2nd level of the Claw Viper Temple will look more like a small room. In the middle, you’ll find the Tainted Sun Altar along with Fangskin guarding it. Kill Fangskin, destroy the altar, and loot the Amulet of the Viper that drops from it. As a side note, you’ll automatically complete Q4 as well. Once done, head back to town.
Transmute Items in the Horadric Cube
Right-click the Horadric Cube in your inventory to open it up. Place the Amulet of the Viper and Staff of the Kings inside of it. Click the Transmute button to create the Horadric Staff.
This quest isn’t technically completed just yet. You’ll need to hang onto the staff and use it to open the entrance to Tal Rasha’s chamber (which is basically part of the final quest – The Seven Tombs). In any case, the quest will update and show as completed once you put the Horadric Staff into the orifice found within the true tomb of Tal Rasha. More on this will be discussed in the last section for Q6.
Q3: Tainted Sun
As mentioned in the previous section for Q2, the Tainted Sun quest will concurrently be worked on during the Horadric Staff quest. If, for whatever reason, you didn’t get the quest – here is the full information for it.
- Quest Giver: Automatically triggered when entering the Lost City
- Travel: Far Oasis (WP) > Lost City > Valley of the Snakes > Claw Viper Temple (3 Levels)
- Waypoints to Acquire: Lost City
- Objective: Destroy the Tainted Sun Altar to remove the curse and bring light again
Walkthrough
Although the quest, upon trigger, mentions talking to Drognan in Lut Gholein, it’s not required. However, if you choose to go back to town and listen to his lore anyway, then at least do so when picking up the waypoint for Lost City (or before heading into the Claw Viper Temple).
The quest will automatically complete once you destroy the Tainted Sun Altar in Claw Viper Temple Level 2.
Q4: Arcane Sanctuary
Speak to Jerhyn in Lut Gholein. You can find him in the west side of the city, at the palace structure. Then speak to Drognan (northeast side of city) to begin the Arcane Sanctuary quest. The objective is to retrieve Horazon’s Journal (which is guarded by the Summoner). On a related note, you’ll also be working concurrently on Q5: The Summoner.
- Quest Giver: Jerhyn in Lut Gholein
- Travel: Harem (2 Levels) > Palace Cellar (3 Levels) > Arcane Sanctuary
- Waypoints to Acquire: Palace Cellar Level 1, Arcane Sanctuary, Canyon of the Magi
- Objective: Retrieve Horazon’s Journal and reveal the symbol of Tal Rasha’s true tomb
Horazon’s Journal will correctly identify the symbol of Tal Rasha’s real tomb (out of the 7 tombs) in Canyon of the Magi. More on this part later.
Walkthrough
You can head back to the palace structure, where you initially spoke to Jerhyn. Inside the structure, you will see the entrance to Harem Level 1. After passing through 2 levels of the Harem, you’ll then reach the Palace Cellar. These are three more levels to go through before you find a room containing a portal which takes you to the Arcane Sanctuary (in Palace Cellar Level 3). An interesting note is that the room with the portal will always be near the middle of the map. It will never be randomized in other locations of the map.
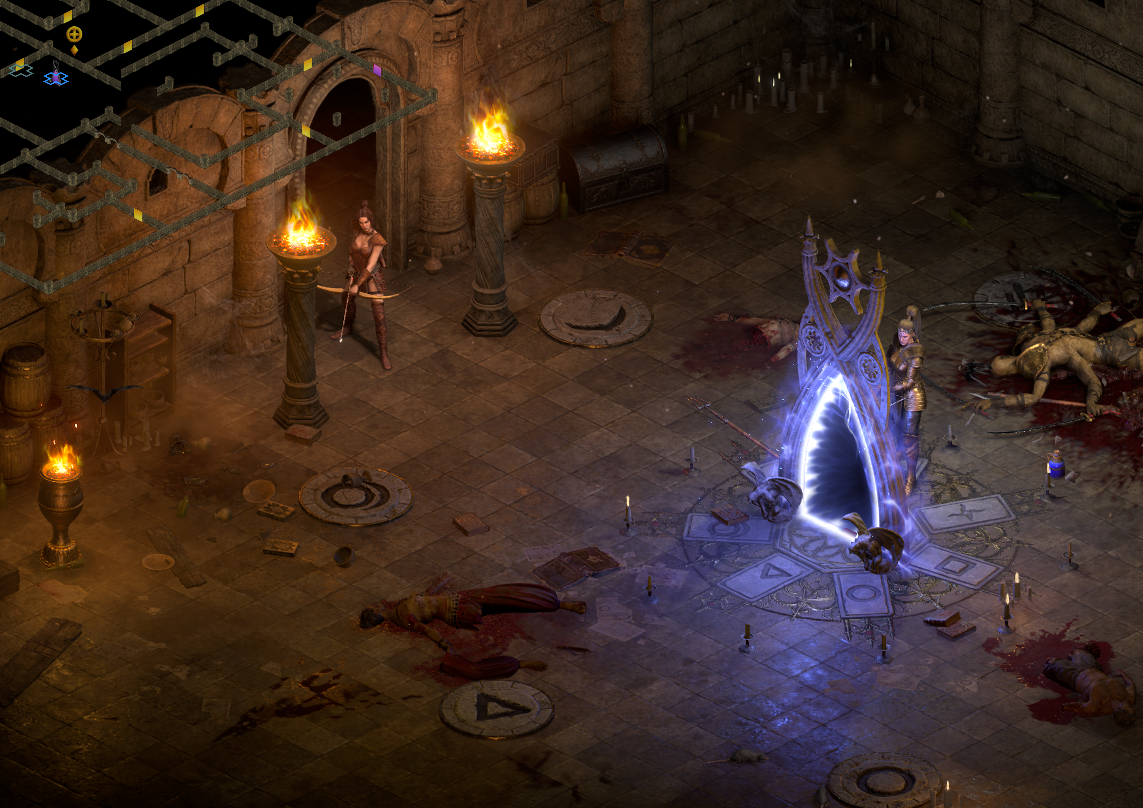
Once you step through the portal, you will find yourself inside the Arcane Sanctuary. As you descend down the steps from the portal, the Arcane Sanctuary WP will be right there. Make sure you save it!
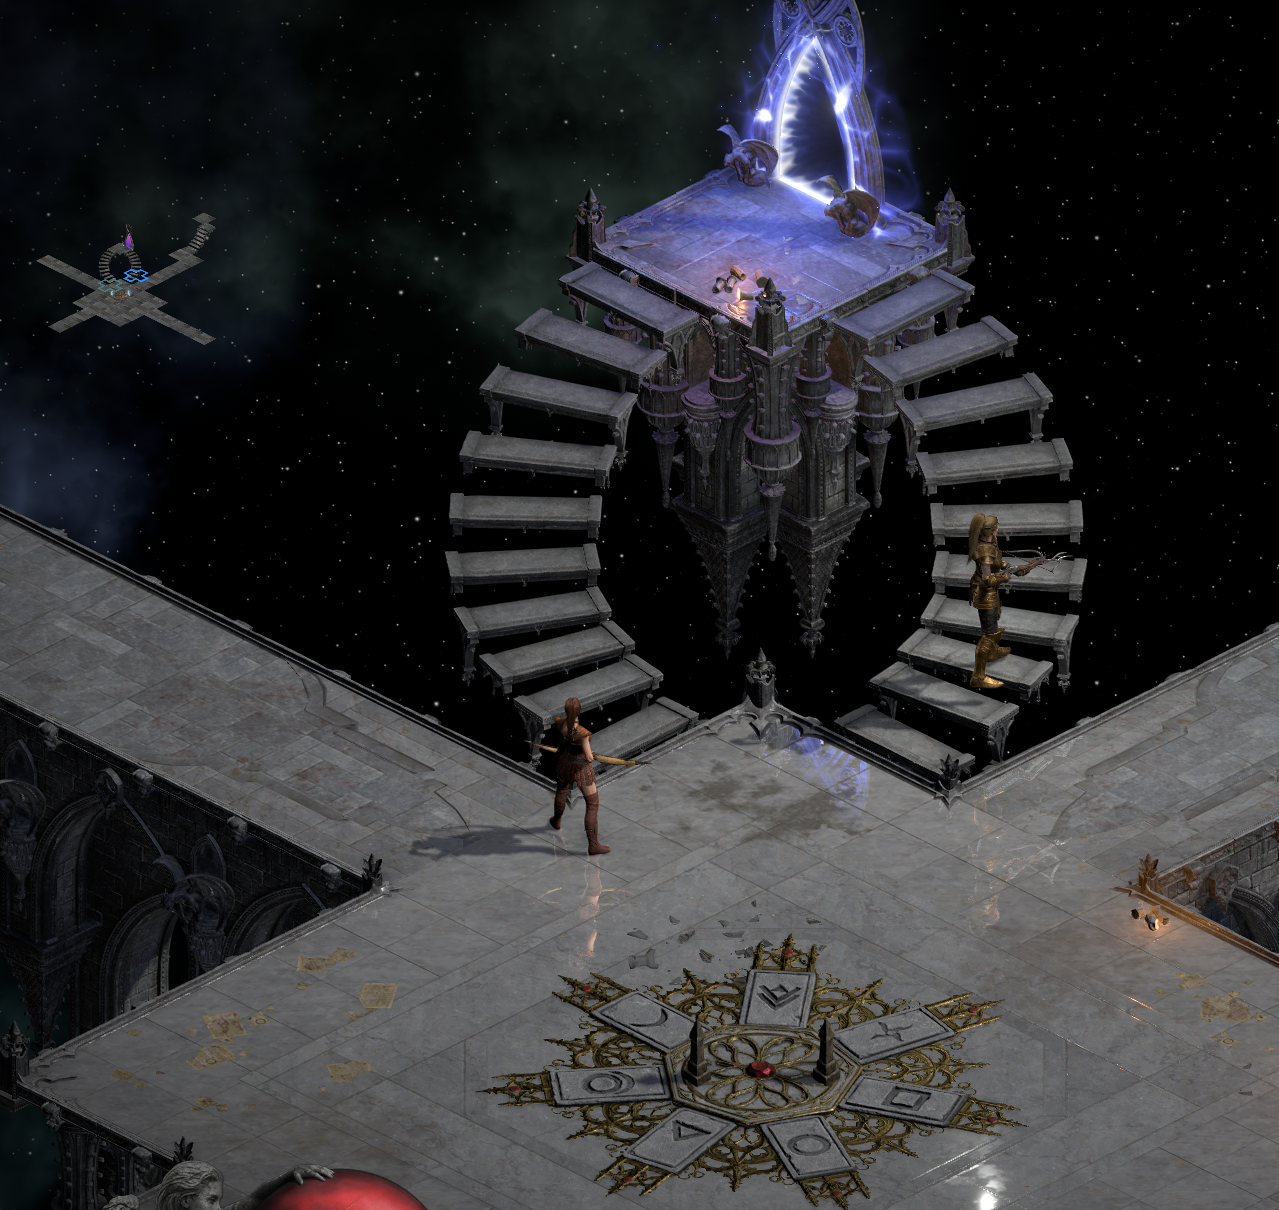
The Arcane Sanctuary WP will be of utmost importance. There are one of four directions that the Summoner (together with Horazon’s Journal) can randomly be in. You may need to go back to the WP each time you don’t find him.
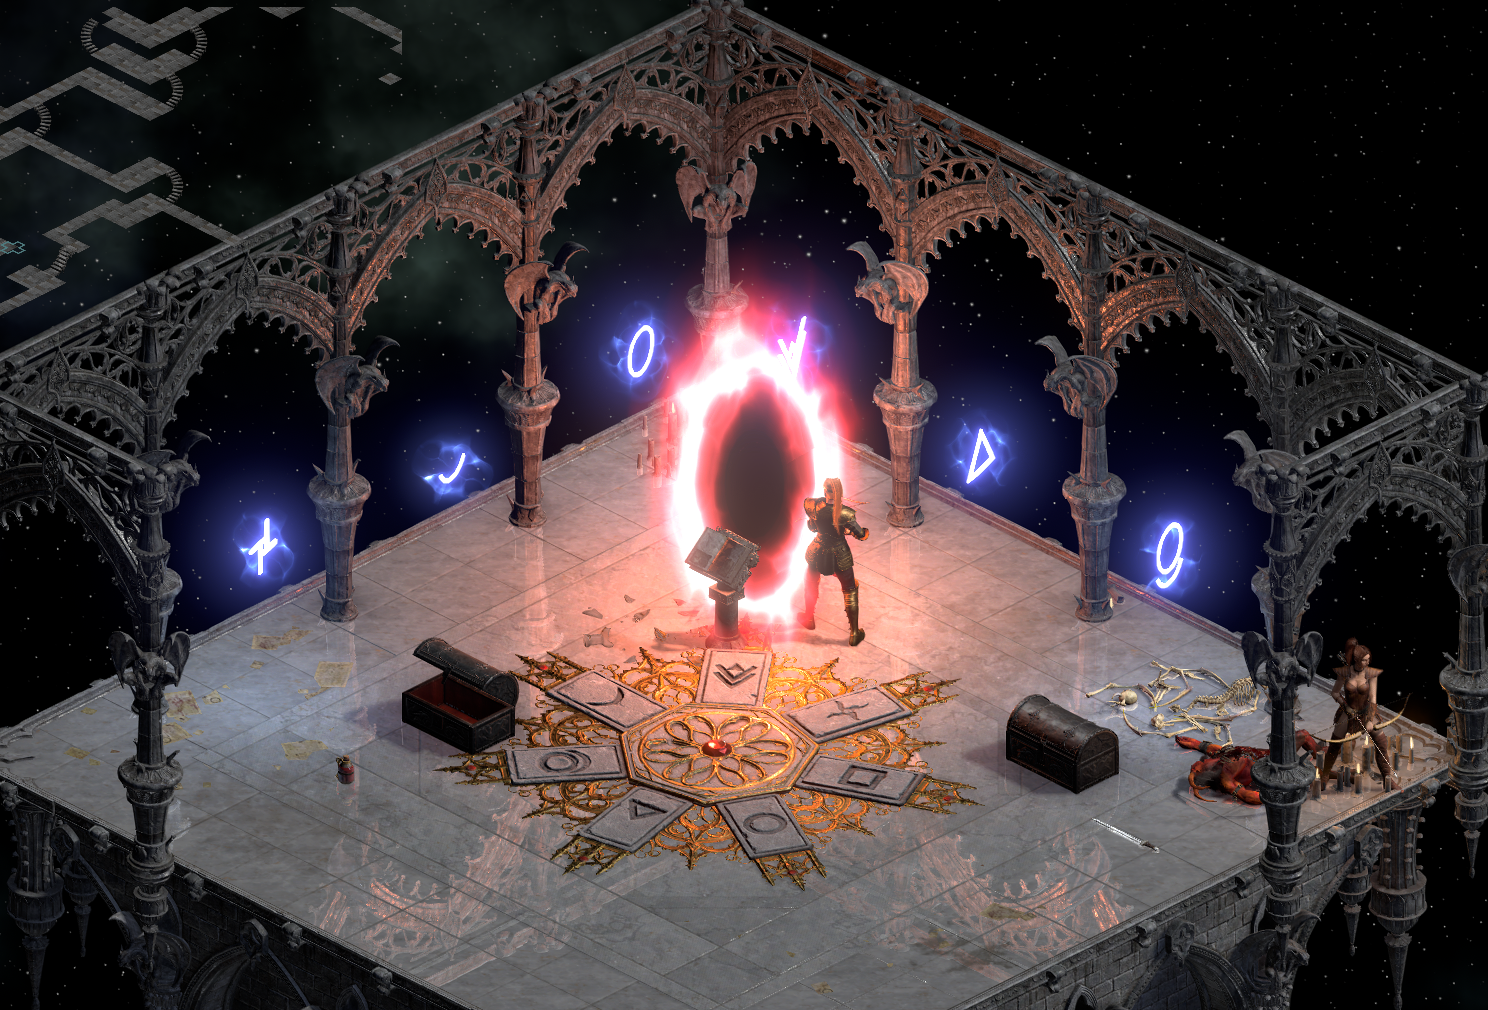
Once you kill the Summoner (which will also complete Q5), Horazen’s Journal is really an item on a pedestal that you click on to reveal the symbol of Tal Rasha’s real tomb. The symbol will be recorded in your quest log. A red portal to the Canyon of the Magi will also appear. It is advisable to take the portal first – it will drop you off right in front of the last WP to save. You can then return back to town, if you need to finish any business.
Q5: The Summoner
This quest is concurrently done with Q4. The Summoner guards the pedestal with Horazon’s Journal.
- Quest Giver: Automatically triggered in Arcane Sanctuary as you approach the Summoner
- Travel: Arcane Sanctuary (WP)
- Objective: Kill the Summoner
The quest will automatically complete once the Summoner is killed.
Q6: The Seven Tombs
This is the final quest to complete Act II. Jerhyn can technically give you the quest right after completing Q1 – Radament’s Lair.
- Quest Giver: Jerhyn in Lut Gholein
- Travel: Canyon of the Magi (WP) > Tal Rasha’s Tomb > Tal Rasha’s Burial Chamber
- Objective: Defeat Duriel and then speak with Tyrael nearby
Walkthrough
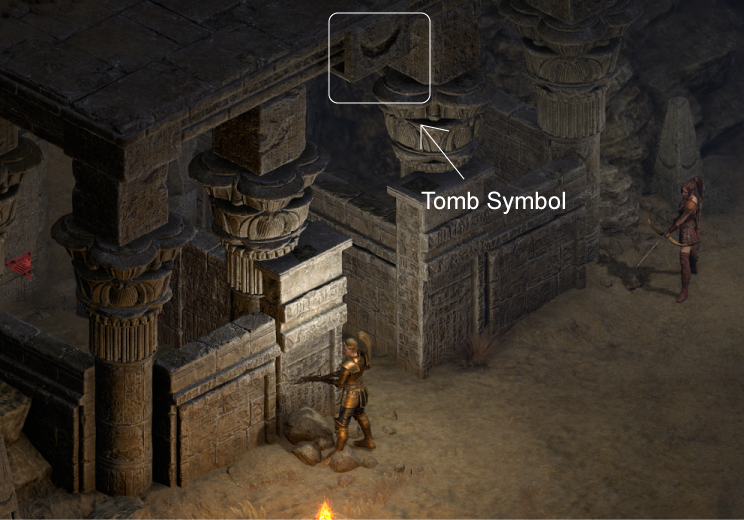
You’ll take the WP to Canyon of the Magi. Within the canyon, there are 7 Tal Rasha Tombs lined against the northern wall of the zone. Each tomb will have a symbol above its entrance. Match the symbol to the true symbol you obtained. That will be the real tomb.
Once you reach the orifice inside the real tomb, you will use your Horadric Staff on it. It will then reveal a passage to Tal Rasha’s Chamber and complete Q2 for you, as well.
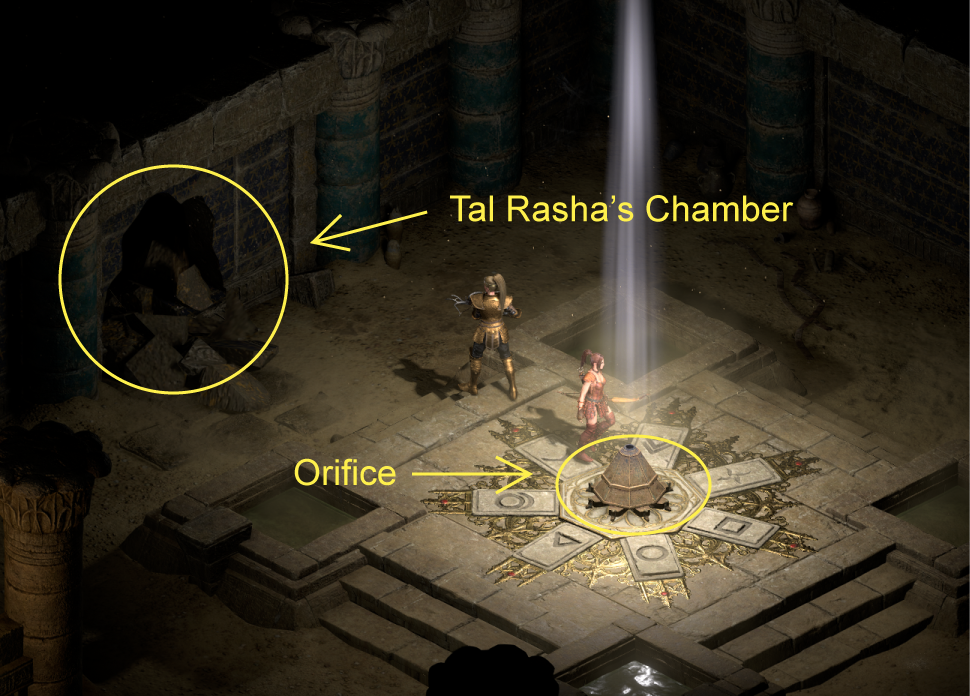
WARNING: Tal Rasha’s Chamber is a one way entrance. It is best to keep a town portal open before you enter.
Enter the chamber and defeat Duriel. After you defeat Duriel, Tyrael will appear nearby and open a portal to Lut Gholein for you. Complete the quest by speaking to Jerhyn in town.
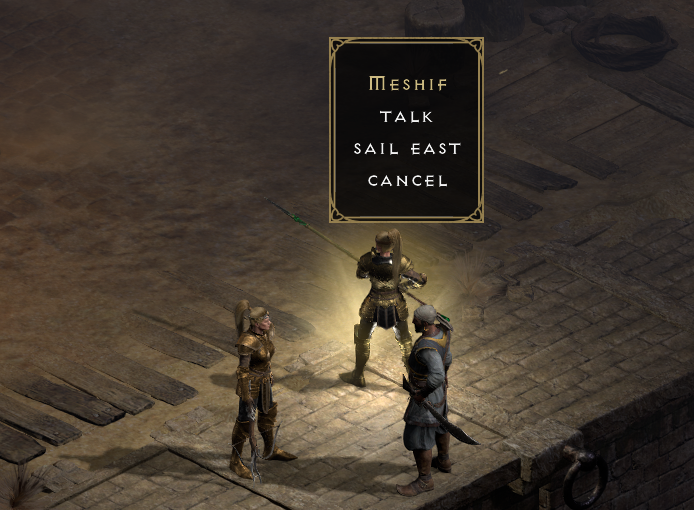
Jerhyn will direct you to speak with Meshif by the docks next, who will take you to Act III.
Meshif Allows Travel to Act III
- Speak to Meshif and select “Sail East” to travel to Act III